ADVANCED ANIMATION FINAL PROJECT
16 Nov 2020 - 23 Nov 2020 ( week 13 -14)
Ahmed Baahy Suhail (0333925)
Advanced Animation
Final Project - Post Production
Ahmed Baahy Suhail (0333925)
Advanced Animation
Final Project - Post Production
INSTRUCTIONS
FINAL PROJECT - POST PRODUCTION
FINAL PROJECT - POST PRODUCTION
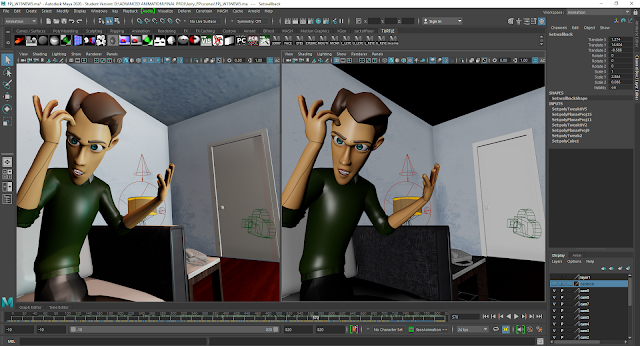
After completing my character animation and finalizing my props with textures, I then moved on to lighting. I used mostly Maya spotlights and some area lights as you can see below.
Here is how my set up looks with the lights activated.
 |
| Scene 1 |
 |
| Scene 2 |
 |
| Scene 3 |
 |
| Scene 4 |
 |
| Scene 5 |
 |
| Scene 6 |
 |
| Scene 7 |
 |
Here are some close-up shots of key props and textures. I chose to add subtle details about the character's life through these props to give him some personality and also to give some context to the final animation. As you can see below, I made a selfie of Jerry and presumably the woman that is on the voice memo, just so the audience can understand better. I also added a bunch of cigarettes around to portray how he has been feeling.
After I finalized my lighting, I went on to compile all my scenes. I could not render through Arnold as that is a very time-consuming process and I was simply running out of time. I found out how to make playblast look identical to a full render. I adjusted my Renderer 2.0's preferences in order to do so and also changed my color management settings in Maya to get the most potential out of my playblast renders.
Given the new settings and high load of textures/lighting in my set, play blasting each scene took a couple minutes, as opposed to Arnold's hourly long renders.
Here is how the play blasted renders came out. I am quite intrigued at how similar it looks to a proper render.
As I spend a lot of time adding props and textures, I did not want it to go to waste so I rendered out a static shot from start to finish too, which can be seen below.
I then went into Adobe Premiere Pro to make some final color adjustments to the rendered scenes. Here is the final outcome of my project.
Final Project Advanced Animation


Comments
Post a Comment