8 May 2020 - 5 June 2020 ( week 4 - week 8 )
Ahmed Baahy Suhail (0333925)
3D Modeling
Project 1
INSTRUCTIONS
PROJECT 1 Hard Surface Modeling
My idea for Project 1 is to create a robot that operated underwater. Therefore, I looked at inspiration and designs to figure out a suitable streamlined design for my model.
 |
Fig 1.1.: Inspiration
|
 |
| Fig 1.2: Sketch of idea |
After my idea/ concept was approved, I started to work on the block out for my model in Autodesk Maya.
 |
Fig 1.3: Block out head
|
 |
| Fig 1.4: Block out head |
 |
Fig 1.5: Block out body
|
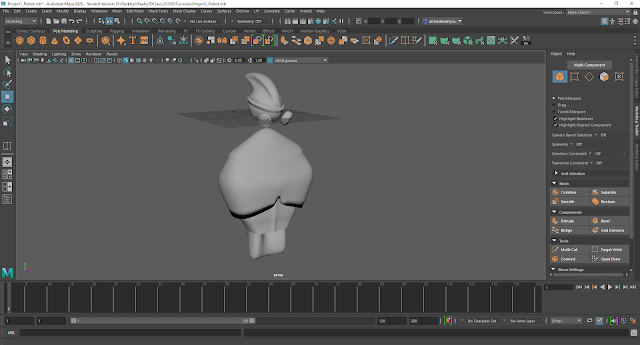 |
Fig 1.6: Block out
 | Fig 1.7: Block out side
|
|
 |
| Fig 1.6: Block out three quarter view |
 |
Fig 1.7: Block out front
|
 |
Fig 1.8: Silhouette
|
After the body was laid out, I started to work on the limbs.
 |
Fig 1.9: Working on arm
|
 |
| Fig 2.1: Observing silhouette |
 |
| Fig 2.2: Silhouette side |
After one side was done. I used symmetry to mirror the arms and legs onto the other side.
 |
| Fig 2.3: Silhouette front |
After checking the silhouette, I realized that the model looked too narrow therefore I scaled it to be wider.
 |
Fig 2.4: Initial design front
|
 |
| Fig 2.5: Initial design back |
 |
| Fig 2.6: Initial design close up |
 |
| Fig 2.7: Initial design close up |
 |
| Fig 2.7: Improved silhouette |
 |
Fig 2.8: Model side
|
Mr. Kannan pointed out that my model is not balanced and that at its current state it will fall back. He also told me to change the posture by opening up the arms.
Whilst working on my model, I noticed this problem, which I later realized was because the vertices were not connected properly.
 |
Fig 2.9: Problem
|
 |
Fig 3.1: Problem
|
To fix the problem, I deleted the faces of the chest area and bridged them later.
 |
Fig 3.1: Deleting faces
|
There was a similar problem with the shoulder as well so I repeated the process.
 |
Fig 3.2: Deleting faces
|
 |
Fig 3.3: Fixed shoulder
|
After locating all the inconsistencies, I proceeded to add details and started to bevel.
 |
FIg 3.4: Beveling head
|
 |
Fig 3.5: Refining feet
|
After the main body was done, I worked on the joints/ hinges of my robot.
 |
Fig 3.6: Adding details
|
 |
Fig 3.7: Wireframe
|
 |
Fig 3.8: Side view
|
 |
Fig 3.9: Final silhouette
|
 |
Fig 4.1: Model om all angles
|
After the model was complete, I had to extract the areas that I wanted to texture the same and assign lamberts to each extraction.
 |
Fig 4.2: Extraction process
|
 |
| Fig 4.3: Extraction process |
 |
| Fig 4.4: Extraction process |
After the extraction process was done, I had to UV all the different parts of the model I extracted
 |
| Fig 4.5: UV process |
 |
| Fig 4.6: UV process |
 |
| Fig 4.7: UV process |
 |
| Fig 4.8: UV process |
After UVing the extractions, I selected the whole model and exported it into Substance Painter to texture.
 |
Fig 4.9: Selection of final model
|
In Substance Painter, I tested out different colors and ended up getting inspired by the color palette of Optimus Prime from Transformers, which is mainly red and blue.
 |
Fig 5.1: Experimentation in Substance Painter
|
After I finalized the textures and colors, I proceeded to render my final outcome in Substance Painter itself.
 |
Figure 5.2: Final render
|
 |
| Figure 5.23Final render |
 |
| Figure 5.4: Final render |
 |
Figure 5.2: Final render textures close up
|
 |
| Figure 5.2: Final render textures close up |
 |
| Figure 5.5: Final render textures close up |
 |
| Fig 5.6: Final render textures close up |
Here is my final outcome for Project 1.
 |
| Figure 5.2: Final A3 poster for Project 1 |


Comments
Post a Comment